Fall brings cooler weather and changing leaves. It also signals that it’s time for some important home maintenance.
Getting your home ready for fall with proper maintenance helps prevent costly repairs and keeps your family safe during winter months. Simple things like cleaning gutters, checking the heat, and sealing up air leaks can really make a difference.
If you take care of these jobs now, you save money and avoid a lot of stress later.
Key Takeaways
- Fall maintenance helps you avoid expensive winter damage and keeps your home safer when it gets cold
- Focus on exterior protection, heating system checks, and making your home more energy efficient
- Consistent seasonal maintenance keeps your property value up and helps you dodge those surprise repairs
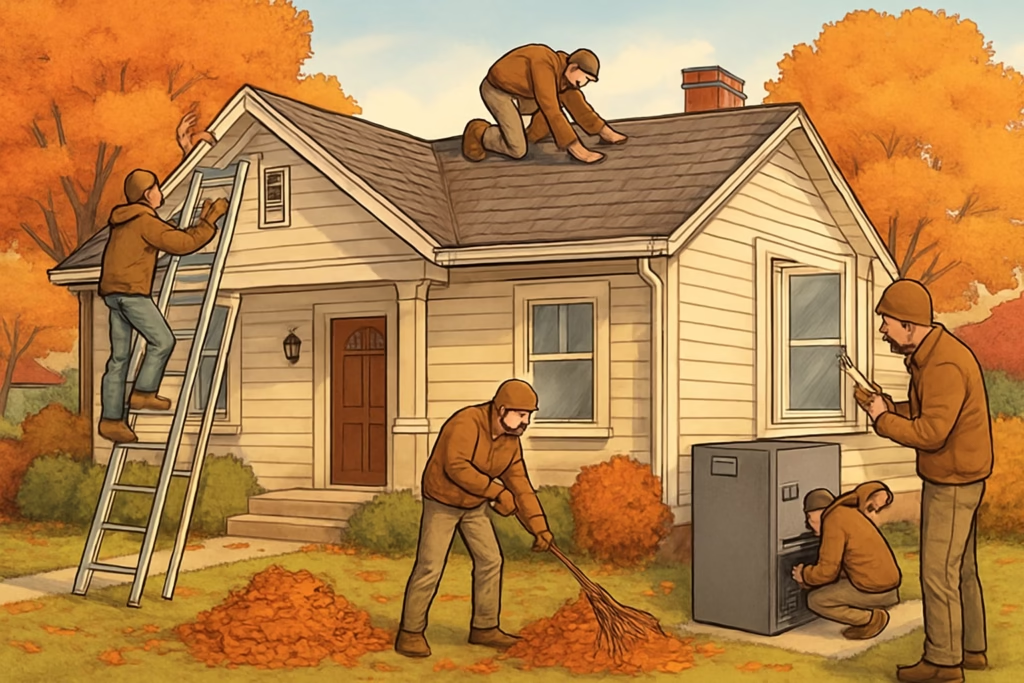
Essential Fall Home Maintenance Checklist
Fall maintenance protects your home from winter damage. It also helps you avoid those big repair bills nobody wants.
If you tackle things like gutter cleaning, checking the heat, and weatherproofing before the cold hits, you’ll thank yourself later.
Why Fall Home Maintenance is Important
Fall home maintenance acts like a shield against winter’s rough weather. Your house deals with more stress from freezing temps, ice, and moisture this time of year.
If you skip these tasks, you could end up with a burst pipe or water damage from clogged gutters. That stuff gets expensive fast.
Preventive care saves money long-term. A quick furnace check costs a fraction of what a full replacement does. Sealing up cracks now keeps bigger problems from happening down the road.
Homes that get regular maintenance hold their value better. Buyers notice when a place is well cared for.
Energy bills drop when you seal up drafts. Clean filters help your furnace run smoother and cheaper.
It’s also about safety. Smoke detectors save lives. Clean gutters mean less ice overhead—nobody wants that falling on them.
Preparing a Personalized Fall Maintenance Plan
Every house is different, so your fall checklist should fit your home’s age, location, and quirks. Take a walk around and look for trouble spots.
Create a priority system for tasks:
- Critical: Heating system, gutters, pipes
- Important: Windows, doors, roof inspection
- Helpful: Storage, landscaping, outdoor equipment
If your home is older, focus more on insulation and weatherstripping. Newer homes might have warranty items to check.
Where you live matters, too. Colder places need more pipe protection, while mild climates can focus on moisture issues.
Try to spread the work out over a couple weekends. If you run into something big, like roof repairs, it’s probably smarter to call a pro.
Budget for supplies and maybe a few professional services. Weatherproofing doesn’t cost much, but furnace service isn’t free.
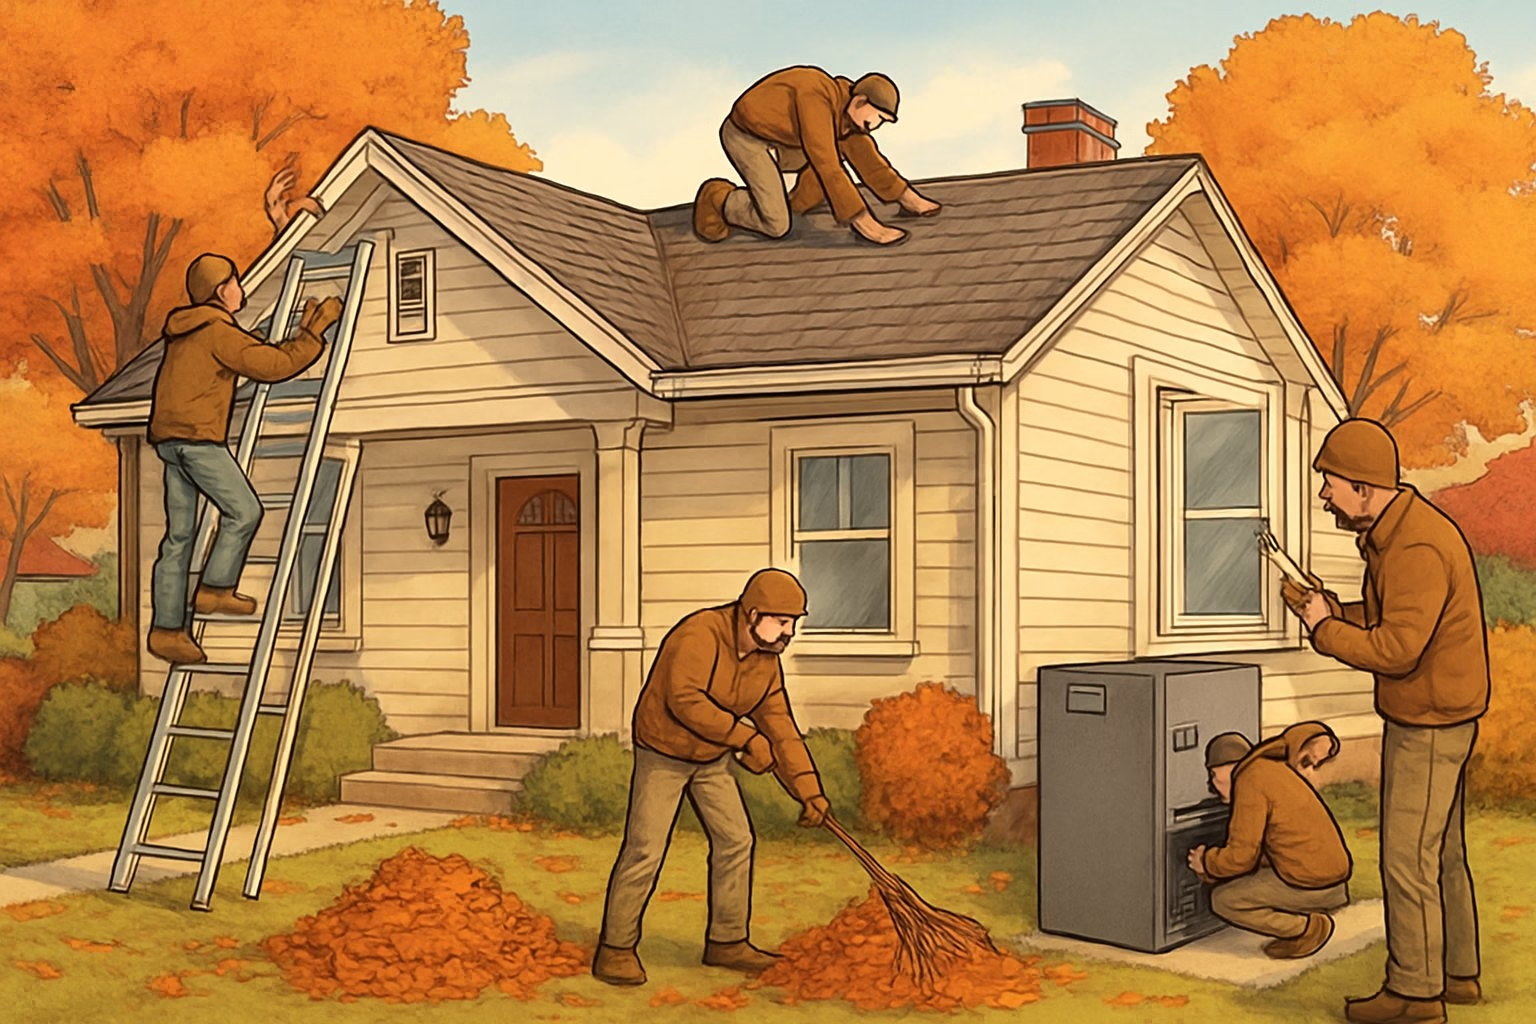
Most Common Fall Maintenance Tasks
Heating and Cooling Systems
Swap out furnace filters before you turn the heat on. Make sure nothing blocks vents. If your system’s older, get a pro to tune it up.
Gutters and Downspouts
Clear all leaves and debris from gutters. Check for loose or damaged spots. Downspouts should send water away from your foundation, not toward it.
Exterior Protection
Seal up cracks around windows and doors. Bring garden hoses inside so they don’t freeze. Turn off outdoor water valves.
Safety Equipment
Test your smoke and CO detectors. Change the batteries, even if they seem fine. Check fire extinguishers, too.
Landscaping Tasks
- Cut the grass short for the last mow
- Rake dead leaves off the lawn
- Drain and store sprinklers
- Cover or stash outdoor furniture
Indoor Preparations
Bring in paint and other stuff that can’t freeze. Clear debris from window wells. Take a look at your chimney—does it need cleaning?
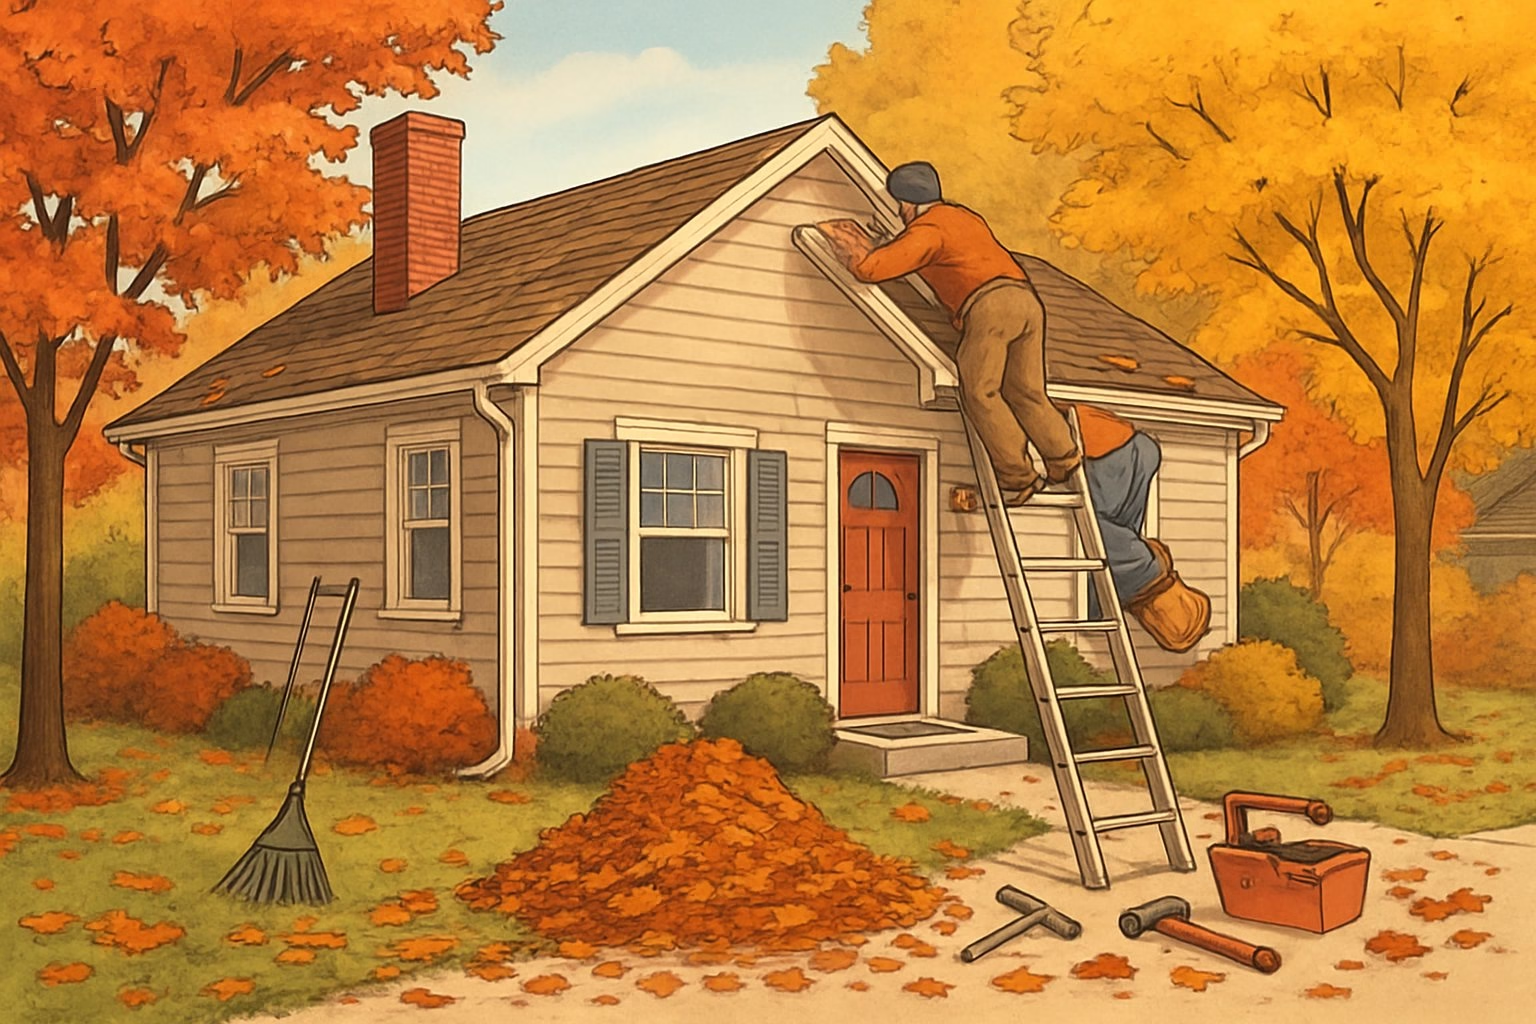
Protecting Your Home’s Exterior
Fall can be rough on your home’s exterior. Cold, wind, and moisture all take a toll.
Check your roof, seal up windows and doors, and add weather protection now to avoid expensive repairs later.
Inspecting and Repairing the Roof
Take a good look at your roof before winter shows up. Missing or cracked shingles let water sneak in.
Key Areas to Check:
- Loose or cracked shingles
- Flashing around chimneys
- Gutters that are clogged or broken
- Tree branches touching the roof
Start from the ground with binoculars if you can. Look for weird spots or missing shingles, especially where the roof meets walls or chimneys.
Clean gutters so water can flow off the roof. If gutters clog, water backs up and causes leaks or roof damage.
Swap out damaged shingles right away. Small fixes now beat big headaches later. If you’re not comfortable on a roof, hire a pro.
Evaluating and Re-Caulking Windows and Doors
Old caulk around windows and doors lets cold air in. That means your heat has to work overtime and your bills go up.
Check all the caulk lines for cracks or gaps. If it’s pulling away, it’s time to redo it.
Steps to Re-Caulk:
- Scrape out the old caulk
- Clean the area with rubbing alcohol
- Apply a fresh bead of exterior caulk
- Smooth it out with your finger or a tool
Use caulk made for outside. Silicone is usually a safe bet. Try to do this when it’s over 40 degrees out.
Pay close attention to corners—they usually go bad first. A tight seal keeps the cold out and the heat in.
Sealing Openings with Weather Stripping
Weather stripping keeps drafts from sneaking in around doors and windows. Old strips get stiff and stop working.
Close your doors and windows and feel for air leaks. If you notice a draft or see damage, it’s time to replace them.
Types of Weather Stripping:
- Foam tape – Good for small gaps, easy to put on
- V-strip – Fits in window and door channels
- Door sweeps – Block gaps under exterior doors
Measure the gaps before you buy anything. Hardware stores usually have what you need.
Stick new weather stripping on clean, dry surfaces. Pull off the old stuff and press the new strips down firmly.
After you install, check that windows and doors still close right. The stripping should squish a bit but not jam things up.
Gutter, Downspout, and Drainage Care
Leaves and rain in fall can clog up gutters fast. If you don’t keep up, you risk water damage to your roof and foundation.
Cleaning out debris and making sure water drains away from the house keeps things safe through winter.
How to Clean Gutters Effectively
Pick a dry day to clean gutters. Use a sturdy ladder and have someone steady it for you.
Start at the downspout and work out. Scoop out big debris by hand or with a small tool.
What you’ll need:
- Gloves
- Plastic scoop or trowel
- Garden hose with a spray nozzle
- Bucket for debris
- Safety glasses
After you clear the gunk, flush gutters with water. Spray from the far end toward the downspout to check for clogs.
Watch for loose screws or rust while you’re up there. Tighten and seal up any little leaks right away.
If water isn’t flowing down the spout, try a plumber’s snake or call in a pro.
Removing Leaves from Roofs and Lawns
Remove leaves from the roof before they pile up in the gutters. Use a roof rake or hire help if your roof’s steep.
Focus on spots where leaves collect, like valleys and around chimneys. Moisture builds up there and can wreck your roof.
Rake or blow leaves away from the house after you clean the roof. Wet piles against the siding attract mold and bugs.
Leaf removal priority areas:
- Roof valleys and low spots
- Behind chimneys
- Around skylights and vents
- Along the foundation
- Flower beds close to the house
Compost healthy leaves or use them as mulch. Bag up any diseased or buggy leaves so you don’t spread problems.
Try to time leaf cleanup after most leaves have dropped but before the heavy fall rains.
Maintaining Proper Drainage Away from Foundation
Make sure downspouts send water at least six feet from your foundation. If water pools near the house, add extensions.
Check that the ground slopes away from your house. You want about a six-inch drop over ten feet.
Common drainage problems to fix:
- Downspouts dumping water right at the foundation
- Ground sloping toward the house instead of away
- Clogged outside drains
- Broken splash blocks
- Sunken soil around the foundation
If you can’t use downspout extensions, try splash blocks or underground pipes to keep water moving away.
Fill in low spots with dirt and reseed if needed. Poor drainage leads to basement leaks and foundation settling.
Clean out exterior drains and window wells. If you have a sump pump, give it a quick test.
Preparing Outdoor Plumbing for Winter
Freezing weather can wreck outdoor plumbing if water gets trapped and expands in pipes or faucets. Drain all hoses and outdoor faucets, and shut down irrigation systems before it gets cold.
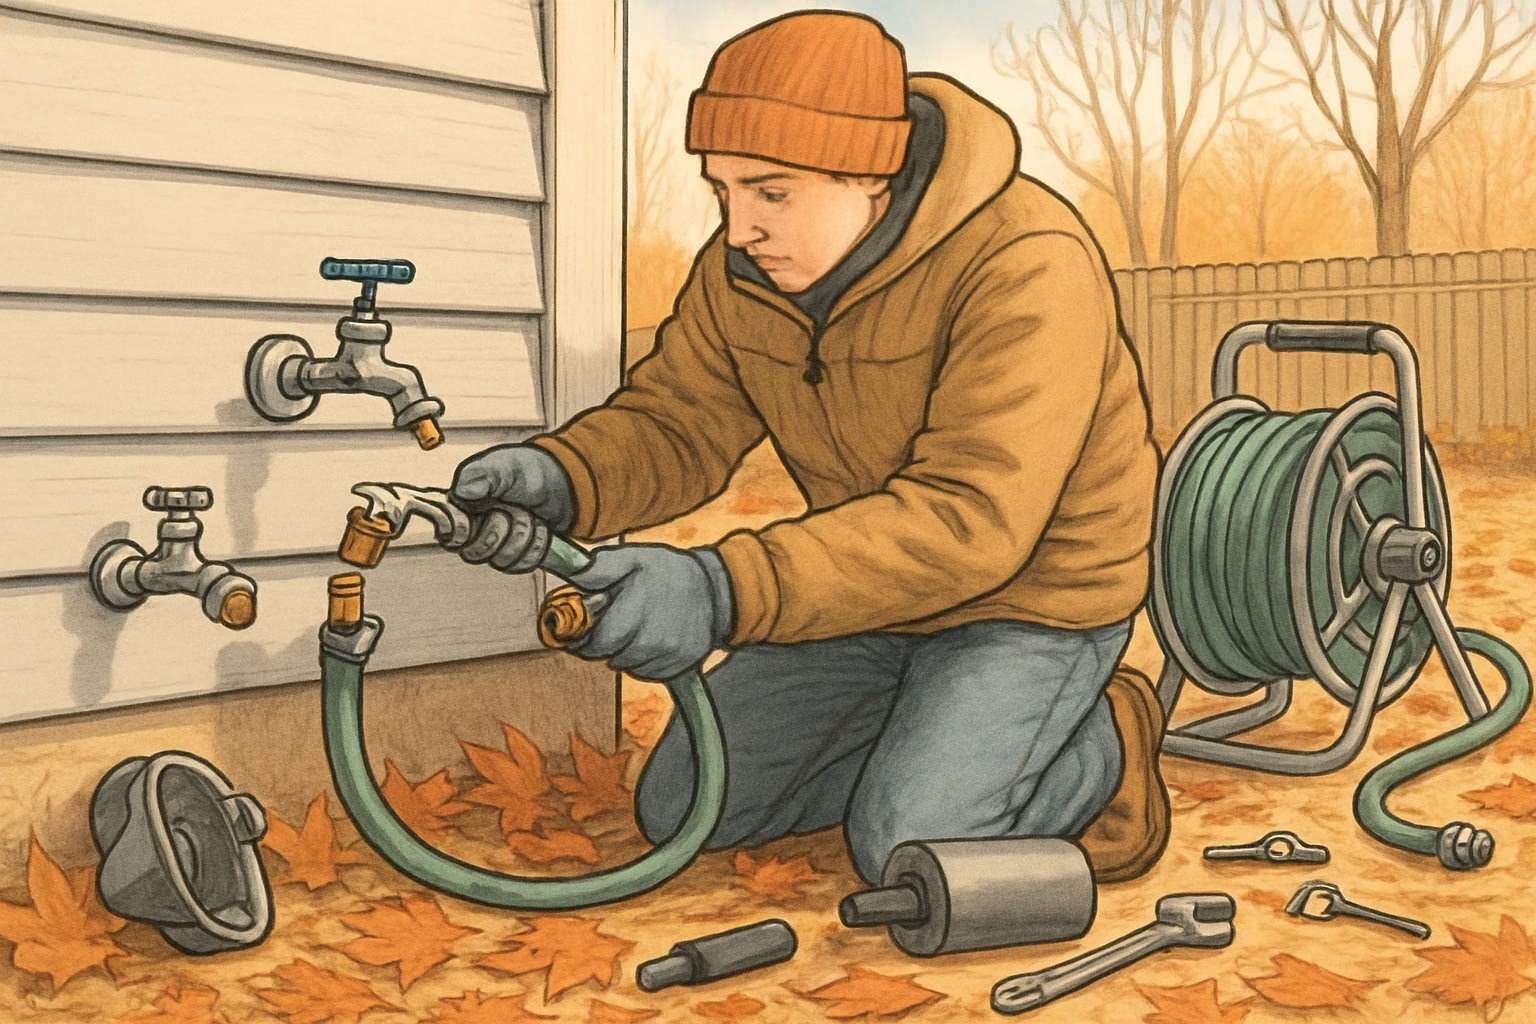
Draining Outdoor Faucets and Hoses
Disconnect all garden hoses from outdoor spigots right after your last use. Water trapped inside hoses can freeze and push back into the faucet connection—never good.
Stash hoses in a garage or basement where they won’t freeze. Coiled hoses left outside often crack when water inside turns to ice.
Find the indoor shut-off valve for each outdoor faucet. You’ll usually spot these valves in basements, crawl spaces, or utility rooms near exterior walls.
Turn off the indoor valve all the way. Open the outdoor faucet and let any remaining water drain out of the pipe.
Leave outdoor faucets open for the winter. That way, if any water freezes inside, it won’t build up pressure and burst the pipe.
If your home doesn’t have shut-off valves, think about installing frost-free outdoor faucets. These help keep water from sitting in the exposed section of pipe.
Check faucet connections for leaks or damage before winter hits. Even tiny cracks can become a big headache when water freezes.
Winterizing Irrigation and Sprinkler Systems
Shut off water supply to the irrigation system at the main valve. You’ll usually find this valve near the water meter or where the irrigation line branches off.
Drain the system using compressed air to clear water from pipes and sprinkler heads. Water left in irrigation lines will freeze and crack pipes or break sprinkler parts.
Set your air compressor to 50-80 PSI for most residential systems. Cranking it any higher can wreck sprinkler heads and valves.
Work through each zone one at a time. Turn on one irrigation zone and blow air through until only air comes out of the sprinkler heads.
Insulate above-ground components like backflow preventers and pressure vacuum breakers. Wrap them with foam insulation or covers made for this purpose.
Take off and store any removable sprinkler heads or nozzles that might crack if they freeze.
Disconnect and drain any hoses or connections to the irrigation timer or control system.
Heating and Safety System Checks
Fall’s really the time to test safety gear and get heating systems ready for winter. These checks help you avoid emergencies and keep energy bills from going wild.
Inspecting and Servicing the Furnace
Change furnace filters every 1-3 months during heating season. Dirty filters make your system work harder and drive up energy costs.
Check the space around the furnace for clutter or debris. Keep a 3-foot clearance around the unit for airflow and safety.
Professional inspection checklist:
- Gas connections and pressure
- Heat exchanger condition
- Blower motor operation
- Thermostat calibration
- Ductwork leaks
Book a professional service visit before it gets cold. Techs can spot issues early and help you avoid expensive breakdowns.
Test your furnace by running the heat for 10-15 minutes. Listen for weird noises—grinding, squealing, banging—that could signal trouble.
Chimney and Fireplace Maintenance
Clean chimneys before lighting the first fire of the season. Creosote buildup is a real fire risk and blocks good ventilation.
Professional chimney cleaning usually takes 45 minutes to 2 hours. They’ll clear out debris, animal nests, and dangerous creosote.
DIY fireplace prep steps:
- Remove all old ashes
- Check that the damper opens and closes
- Inspect the fireplace screen
- Test the nearby smoke detector
Look for cracks in the chimney exterior or loose mortar joints. These let water and cold air sneak in.
Add a chimney cap if you don’t have one. It keeps out animals, rain, and debris.
Testing Smoke and Carbon Monoxide Detectors
Test each detector every month by pressing the test button. Swap out batteries as soon as you hear the low-battery chirp.
Detector replacement schedule:
- Smoke detectors: Every 10 years
- Carbon monoxide detectors: Every 6 years
- Battery-only units: Follow the manufacturer’s advice
Install detectors on every floor. Place carbon monoxide detectors near bedrooms and fuel-burning appliances.
Check the expiration date on the back of each detector. Old units might not work right, even with fresh batteries.
Vacuum detector surfaces with a brush attachment. Dust can mess with sensors and cause false alarms.
Indoor Prevention and Energy Efficiency
Fall’s the best time to seal up gaps and protect pipes before winter hits. These quick fixes help you avoid expensive water damage and keep heating bills down.
Insulating Exposed Pipes
Pipes in basements, crawl spaces, and garages need insulation before the cold arrives. Frozen pipes can burst and cause thousands in water damage.
Foam pipe insulation sleeves are easy and cheap—usually under $2 a foot. Just cut with scissors to fit around elbows and joints.
Pipe wrap tape works for weird-shaped spots. Wrap it in overlapping layers, starting low and working up to keep cold air out.
Focus on pipes near exterior walls. These freeze first. Make sure both water supply lines and drain pipes get covered.
Weatherproofing Entryways
Doors and windows lose the most heat in winter. Even tiny gaps around frames can waste 10-15% of your heating costs.
Check weather stripping around doors. Run your hand along the edges—feel a draft? Replace any that’s cracked, crushed, or missing.
Re-caulk window frames where old caulk has shrunk or pulled away. Scrape off loose bits with a putty knife, then apply new caulk in a smooth line.
Door sweeps at the bottom of exterior doors should touch the threshold. Adjust or swap out sweeps if you see gaps below.
Try closing the door on a strip of paper. If the paper pulls out easily, your seal needs work.
Checking for Indoor Water Leaks
Small leaks waste water and can mess up walls, floors, and ceilings. Fall’s a good time to hunt them down and fix them.
Look under sinks for water stains or soft spots. Check where supply lines meet faucets and tighten loose connections with a wrench.
Peek around toilets for water on the floor. Rock the toilet gently to see if it moves—a loose toilet can break the wax seal and leak.
Check ceilings for brown stains or soft spots. These often signal roof leaks or plumbing problems above.
Run faucets and flush toilets while listening for odd sounds. Dripping or running water means you probably need repairs soon.
Frequently Asked Questions
Fall maintenance is all about protecting your place from winter—think gutter cleaning, heating checks, and sealing up the outside. Focus on drainage, weatherproofing, and safety checks before temperatures drop.
What are the essential tasks to include in a fall home maintenance routine?
Clean gutters and downspouts to prevent ice dams and water damage. This clears out leaves and debris that block drainage.
Have a pro inspect your heating system before it gets cold. Furnace or heat pump checks are a must.
Seal up windows and doors to stop heat loss. Use fresh caulk and weather stripping where you find gaps.
Get your chimney and fireplace inspected for safe operation. Pros should clean the flue and check for damage or blockages.
How should I prepare my home for the colder months during the fall?
Winterize exterior plumbing to avoid frozen pipes. Drain hoses and shut off outdoor water valves.
Insulate outdoor faucets and exposed pipes to guard against freezing. This simple step can save you from burst pipe repairs.
Cover air conditioning units to protect them from winter weather and debris.
Put up storm windows and doors if you’ve got them. They add insulation and block wind.
Can you provide a monthly breakdown of home maintenance tasks for autumn?
September: Clean gutters, inspect the roof, schedule HVAC maintenance, and test smoke detectors.
October: Focus on exterior winterization—drain hoses, cover outdoor furniture, and re-caulk windows.
November: Prep the indoors—reverse ceiling fans, check the water heater, and look for leaks in basements.
Each month, keep up with basics like changing HVAC filters and testing safety equipment.
What are the key exterior maintenance checks to perform before winter?
Inspect the roof for loose or damaged shingles. Look for missing tiles and check flashing around chimneys.
Check siding for cracks or gaps. Openings let in cold air and moisture.
Clear leaves and debris from foundation areas. Good drainage there prevents water damage and basement flooding.
Test outdoor lighting and replace bulbs. With shorter days, working lights are key for safety.
Which yearly cleaning tasks should I not overlook during the fall?
Clean out dryer vents to remove lint. This lowers fire risk and helps your dryer work better.
Get carpets deep cleaned to remove summer grime. It also gets your floors ready for more indoor time.
Clean or swap out kitchen exhaust fan filters. Grease buildup cuts effectiveness and ups fire risk.
Vacuum refrigerator coils to keep things running efficiently. Clean coils help your fridge work better, especially during busy months.
What specific maintenance considerations are there for homes over 20 years old in the fall season?
Older heating systems really deserve a professional inspection every fall. After a couple decades, parts start to wear out and might need swapping.
Windows and doors in these homes? Their seals usually don’t hold up forever. You’ll probably need to replace caulking and weather stripping more often than you’d like.
It’s smart to have an electrician check out the electrical system. Old wiring just wasn’t made for how much power we use nowadays, so updates might be in order.
Plumbing pipes in older places face a bigger freeze risk. Adding insulation and having someone take a look at the pipes gets more important as the years go by.
Author: Danny Anderson
Danny Anderson is a seasoned home services professional with over 25 years of hands-on experience in residential construction, remodeling, and repair. After two decades in the field, Danny now shares his expertise through helpful guides, how-tos, and cost breakdowns aimed at making homeownership less stressful and more informed. His practical insights are trusted by homeowners nationwide.